I’m pretty sure this configuration is safe and it never felt as squirrelly as it looks. The only issue I ran into was occasionally the workpiece would push the throat plate down and snag on the lip of the table preventing me from pulling back out of the cut. Which forced me to stop the saw a few times.
I’m a freak about safety so if anyone thinks any part of this is unsafe I’d love to start a dialog about it. I feel like I can always strive to be safer in the shop!
Or possibly just share some of your own frankenjigs.
Looks fine to me. Understand the hazards and minimise the risks.
I made a router table out of a plunge router and a workmate when I was first getting in to woodworking, that was scary and in hindsight not my brightest moment.
I agree 1000% risk mitigation is the name of the game. That router table sounds terrifying but I’m glad you’ve still got all your fingers. Routers are spinning balls of death and I distrust them even on the soundest of setups.
That’s a healthy distrust.
I recently watched the bearing of a flushtrim router bit disassemble while routing 2" acrylic and I puckered so hard I could taste what color underpants I was wearing.
Yeah, I’ve been jointing boards with a tablesaw and a level.
High pucker factor.
Make a jig my friend! It will help save the seal on your O ring lol
I definitely should, and Im planning to, but I have to go to town, and get some MDF, and it’s a whole thing. Level works for now, just taking it easy, and praying to the josh gods.
I can’t fault anyone for making do with what they have on hand! Stay safe in the shop, my friend.
Thank you, you as well
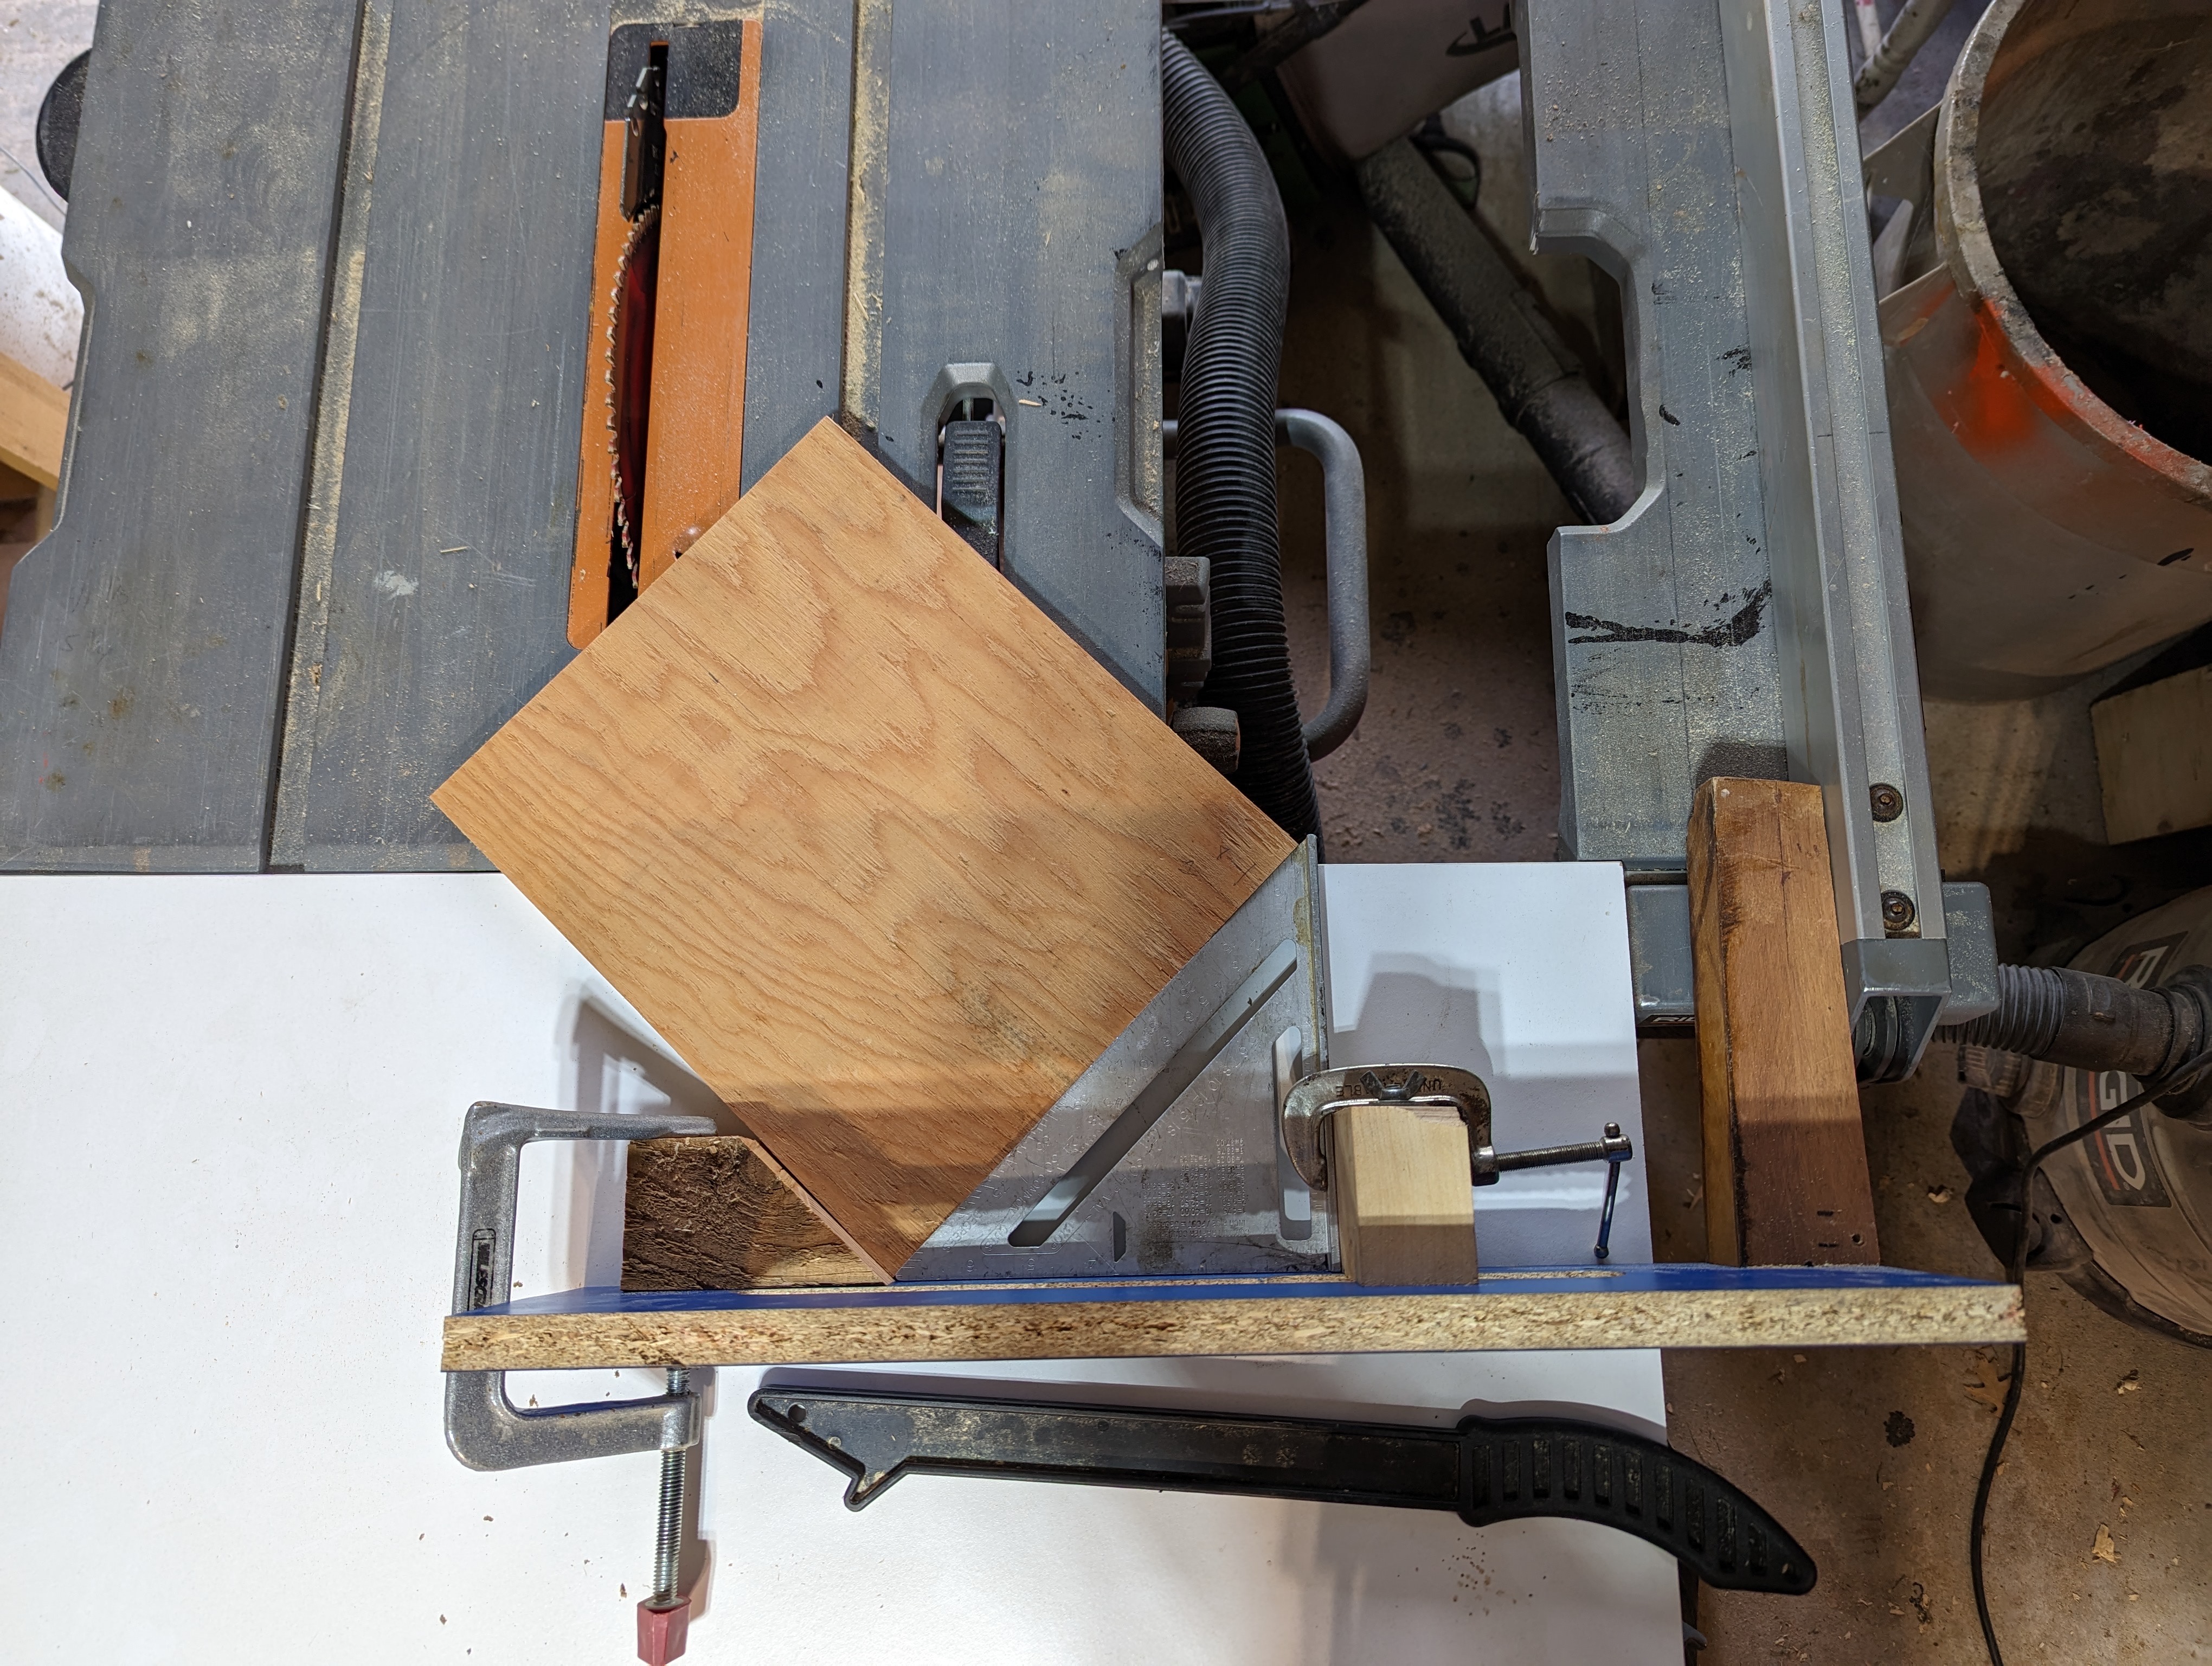
Can you explain how the jig works? I’m not seeing it.
For sure! The work piece is a piece of post base trim under my microjig gripper (the yellow thing, they are super handy and safe push sticks) that I needed to cut some wide dados in the back of to accommodate brackets I forgot to account for when I batched out all these trim pieces. But I don’t want the dados to go all the way through so that the trim will still look normal once it’s tacked in place. So I clamped a 2x4 behind the blade to stop the workpieces travel just before the blade would have gone all the way through.
The miter gauge has a 2x4 screwed into it and has some scrap clamped on the left side as a stop block for the right most portion of the cut. I then hog out swaths with the dado blade and move the workpiece to the right until it hits the fence which serves as a stop block for the left most portion of the dado cut.
The fence has a board clamped to it because this is my dedicated dado saw and I just never take it off.
I hope that makes sense the way I described it, but basically I’ve just created a jig where the work piece literally cannot be cut anywhere except for where I want it to. I’m just a dummy in a garage so I try to set things up so I can pretty mindlessly batch out things that are identical.
Also bonus PSA you should never use a miter gauge and a fence simultaneously on a through cut because it is damn near guaranteed to kick back at you. This operation is only safe when you are making non through cuts such as dados or rabbets.
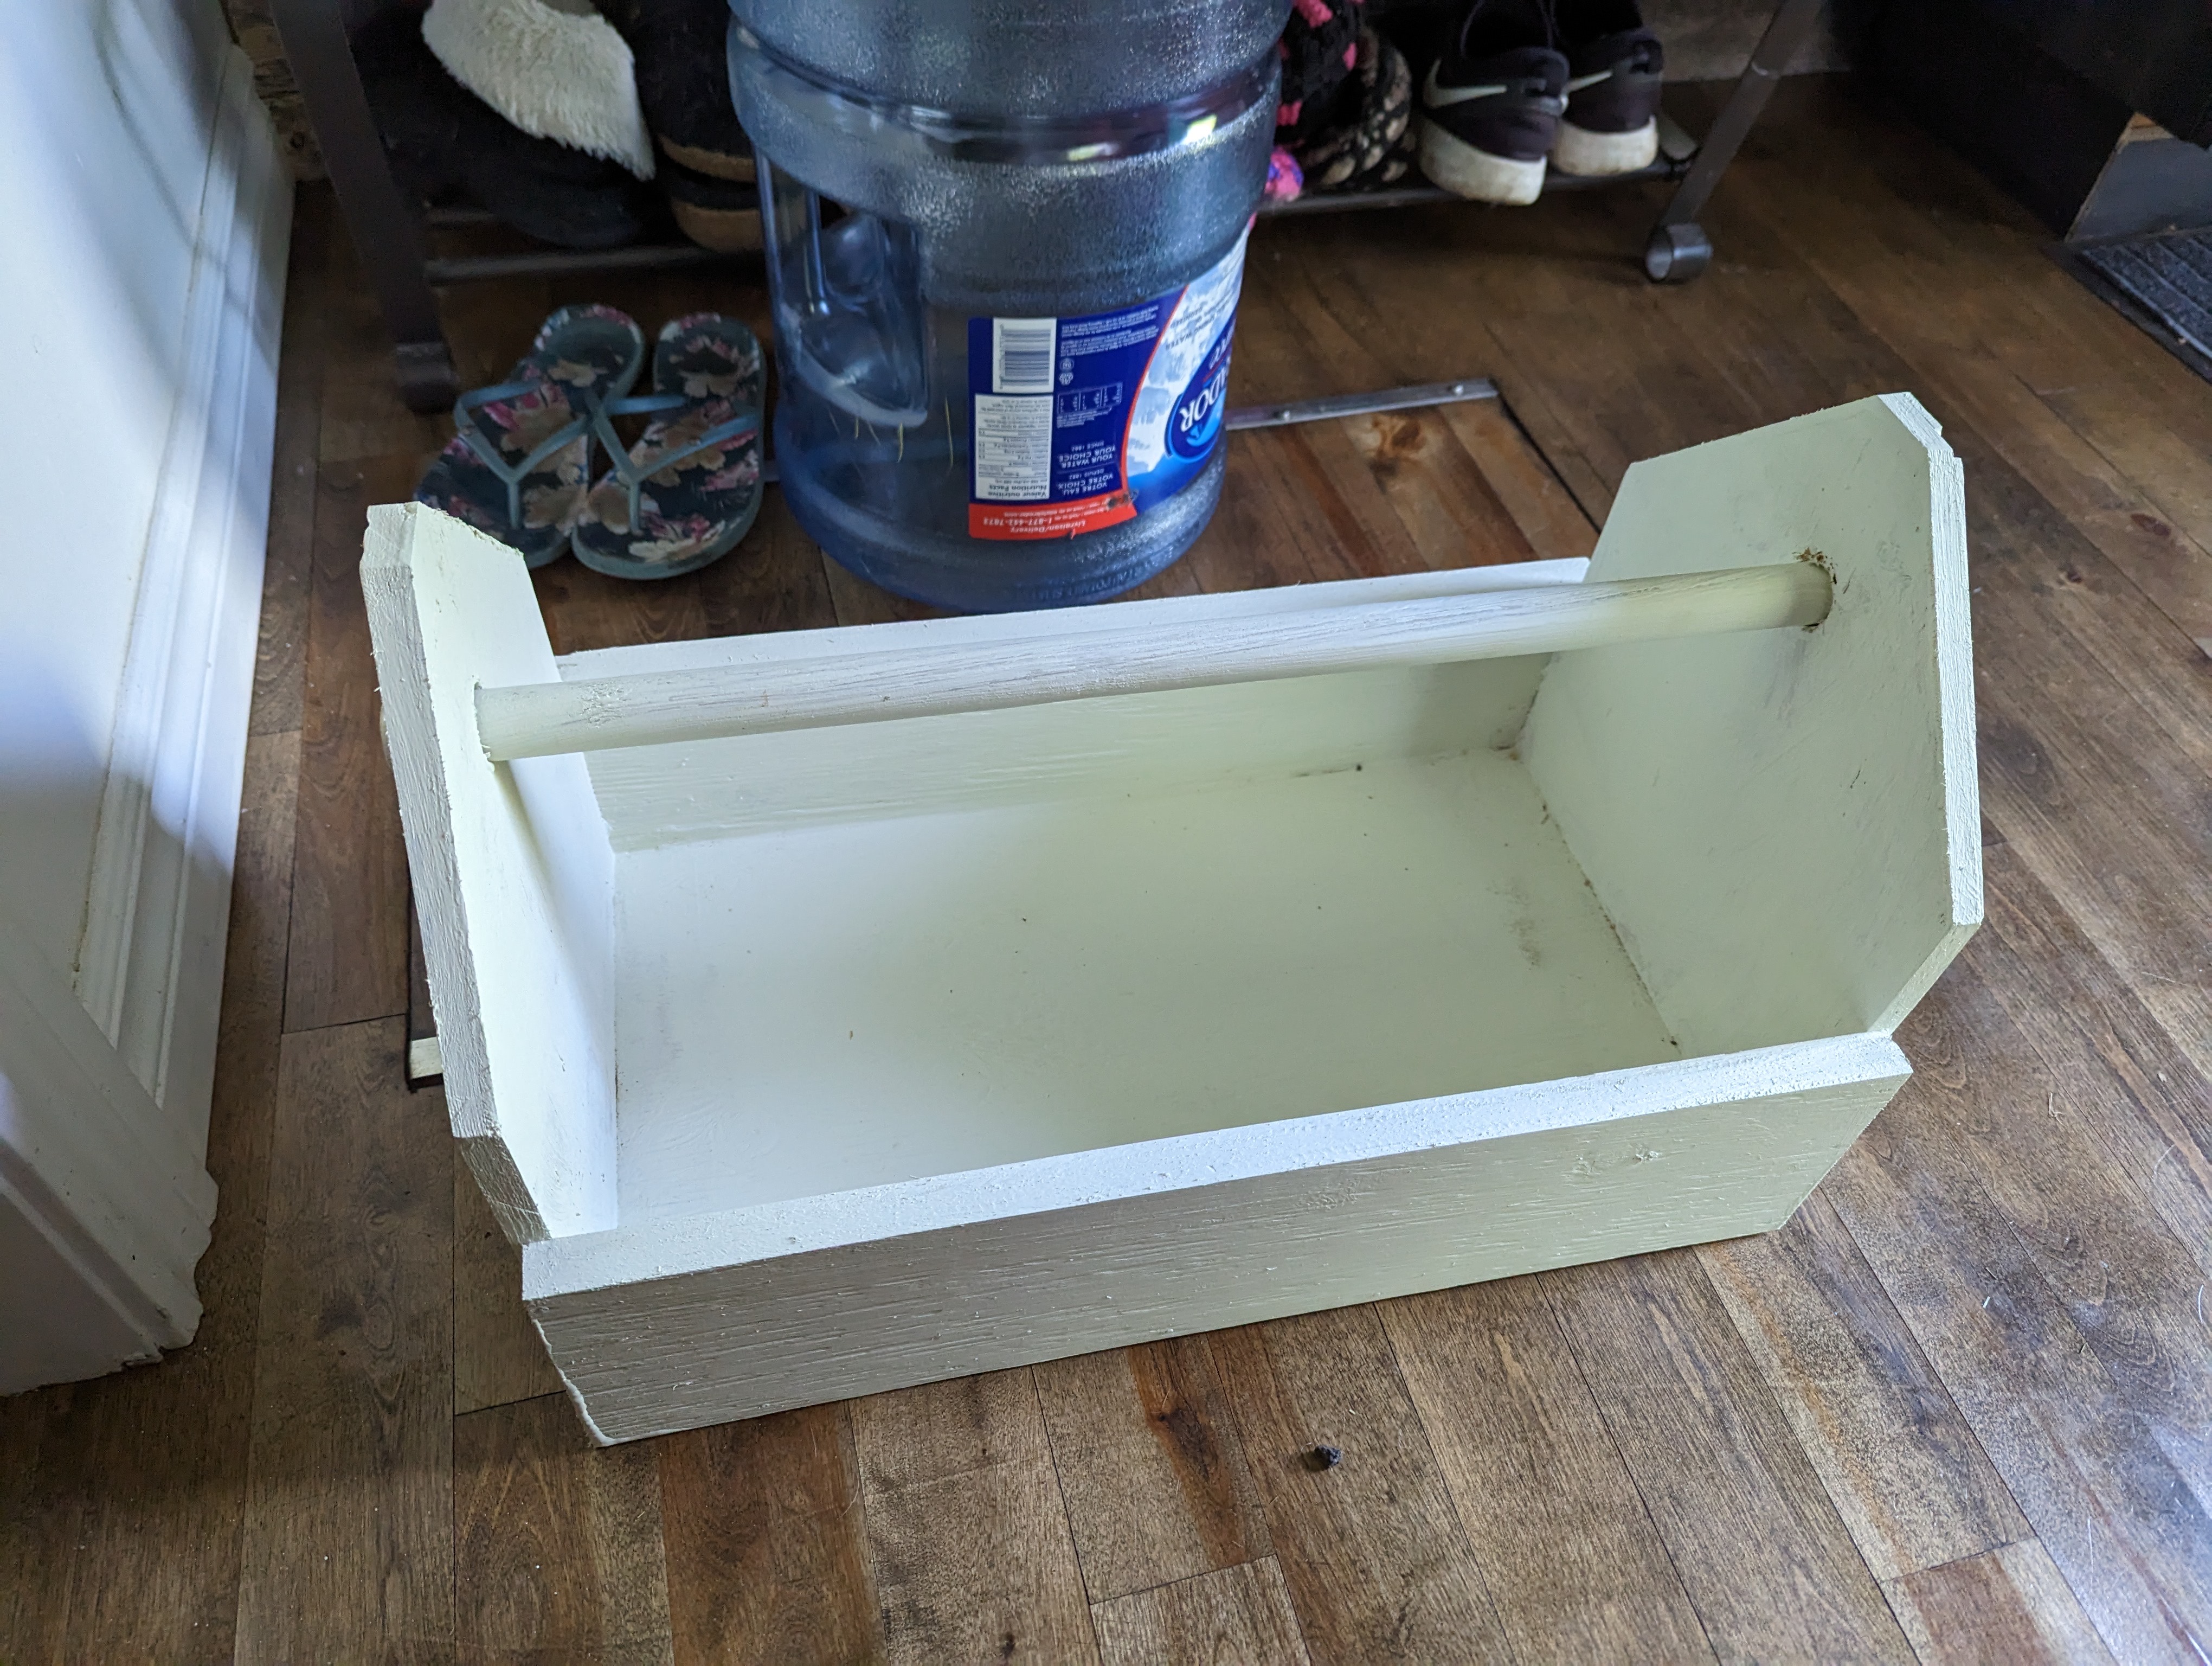
I’ve been dabbling with woodworking for a week while house-sitting for my dad. Couldn’t find anything in his workshop so I had to improvise.
It didn’t look so bad until I realized it doesn’t look like you’re using any runners in the miter slot for your jig and just relying on the fence and that little piece of wood. Looks like it would tip a little more than I’d be comfortable with. However as long as you’re not getting any kickback or losing any fingers i reckon it works. I’d highly recommend finding your dad’s miter gauge (it might be hanging on the side of the saw, mine usually is) and rework that jig but I’m just some dummy in a garage so… Please post what you’re working on when you’re finished though! I’d be delighted to see it.
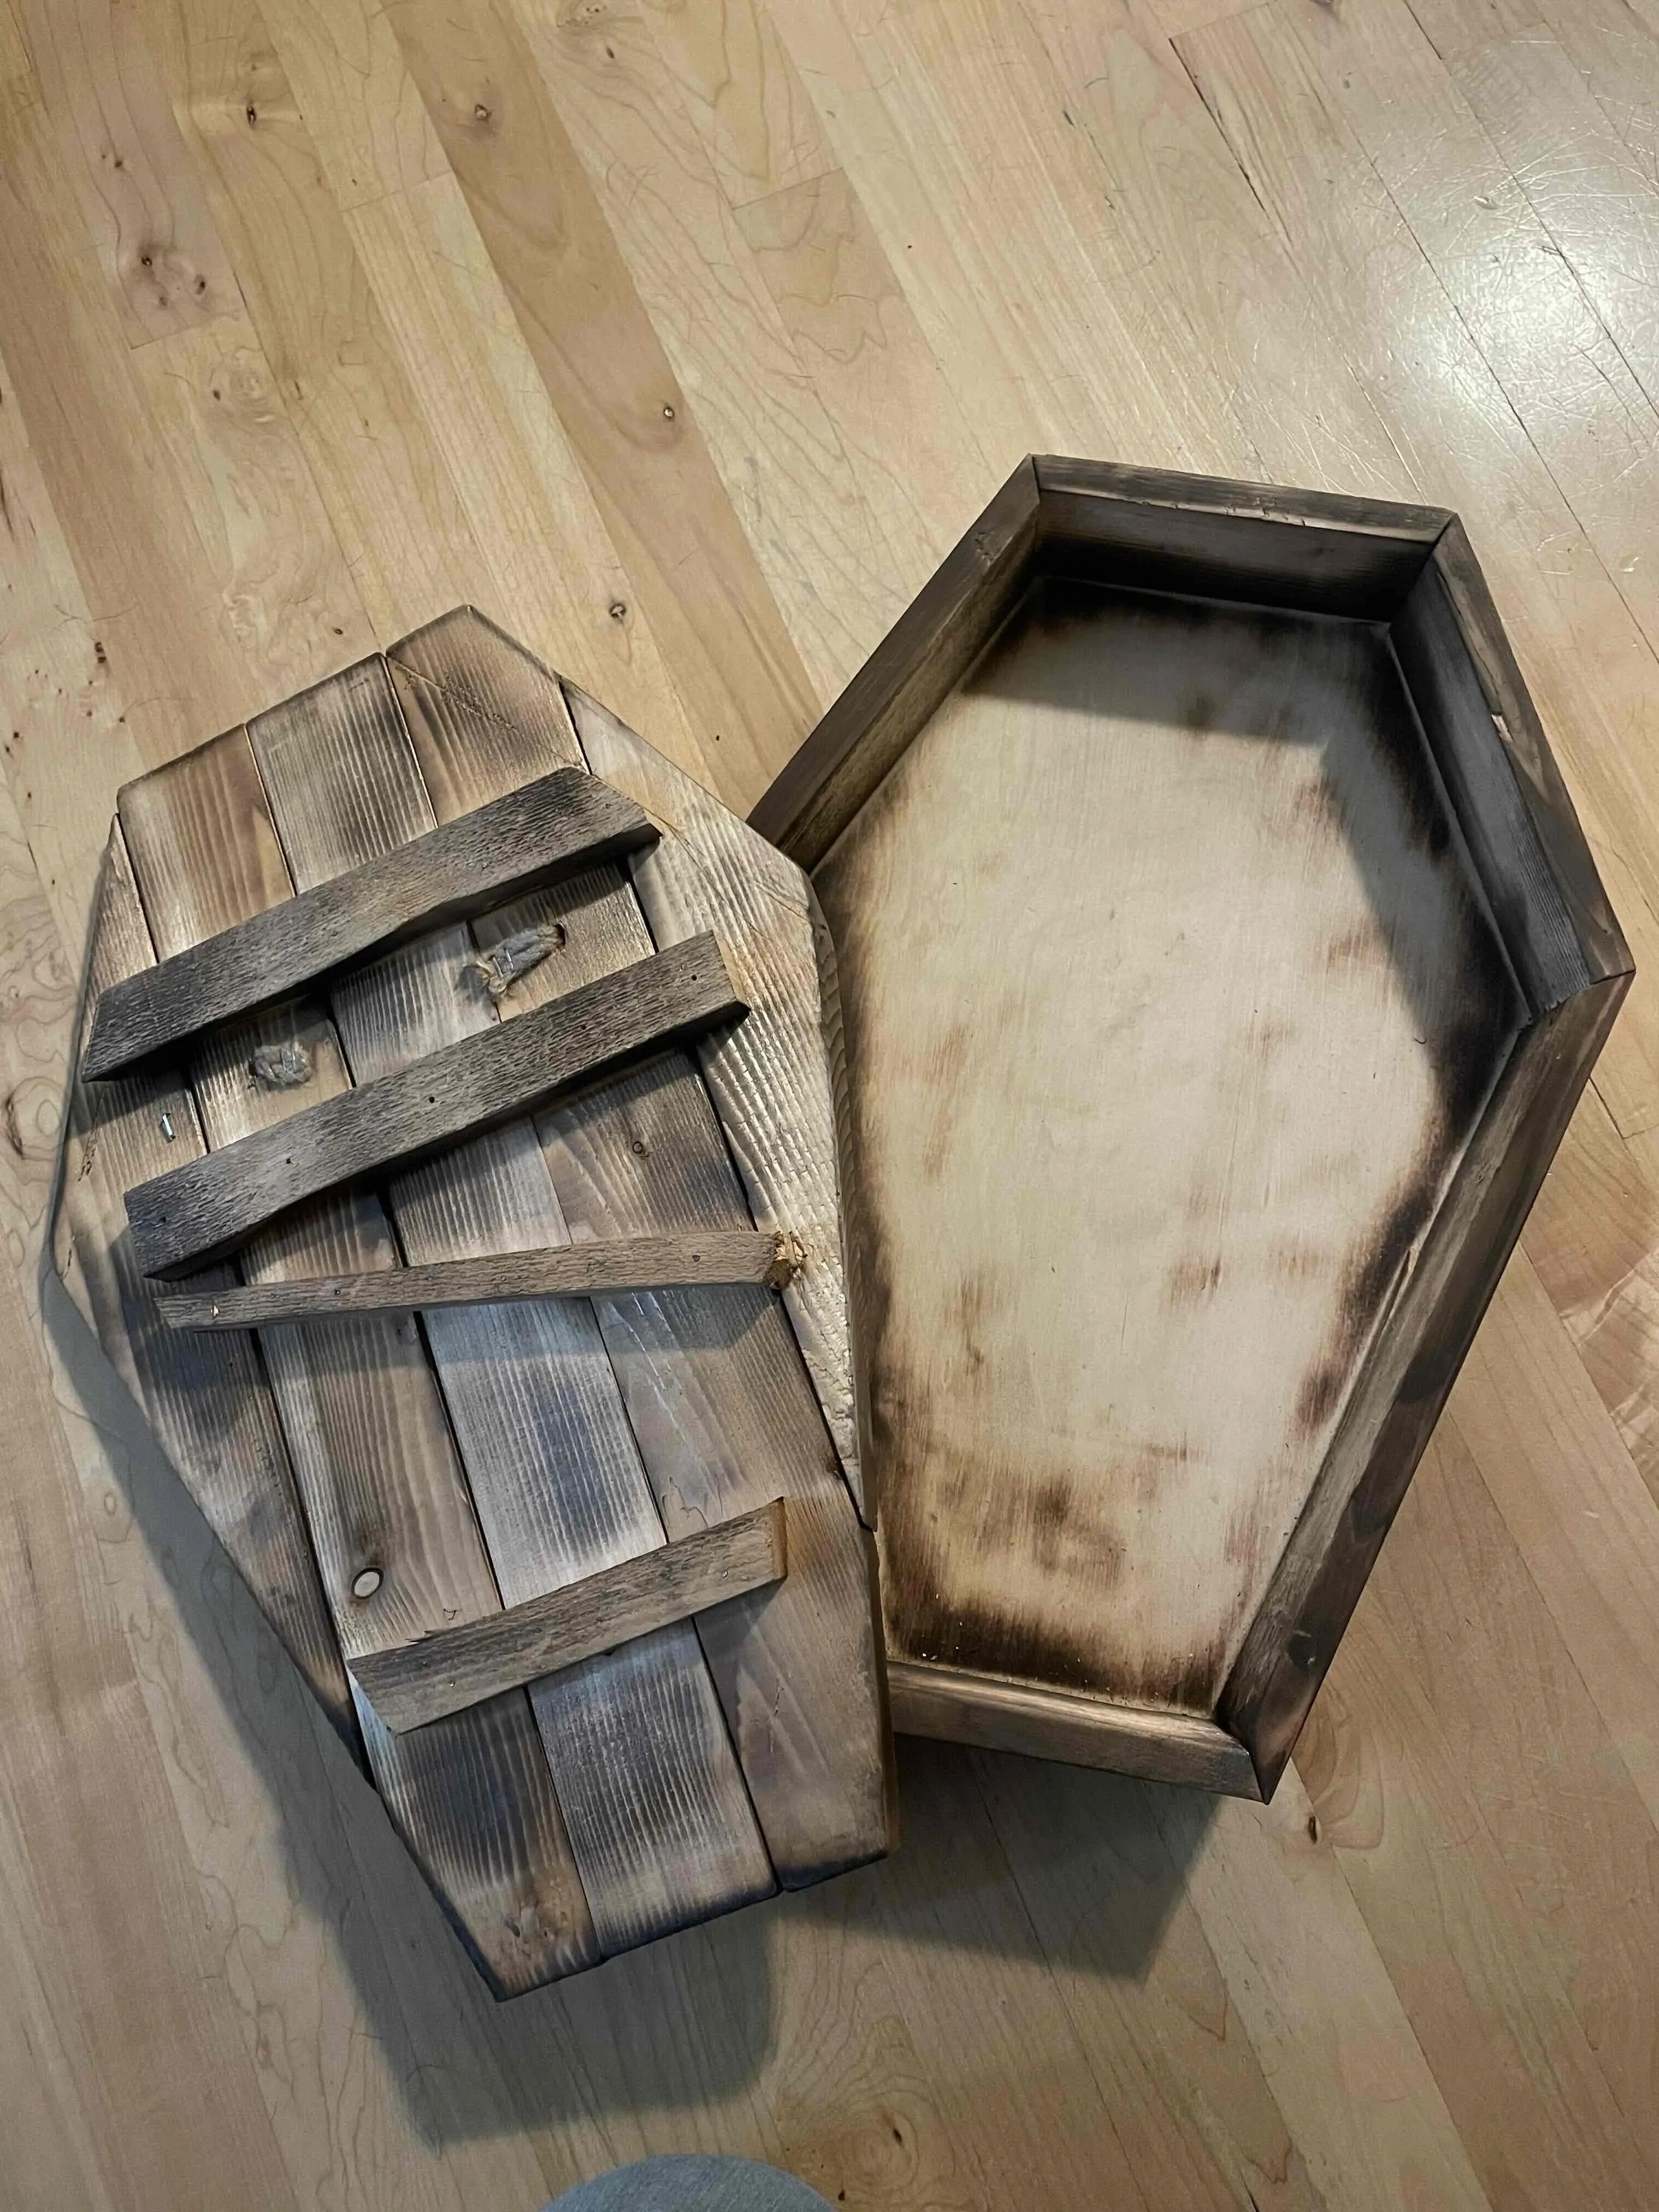
I made a crooked toolbox. I am still proud of it!
Looks great! You just need to work on your marketing now, it’s a rustic toolbox not crooked lol
Haha, I lean in to it and make everything ‘rustic’ out of pallet wood and screws.
Great way to put it! Thanks for the kind words!
