
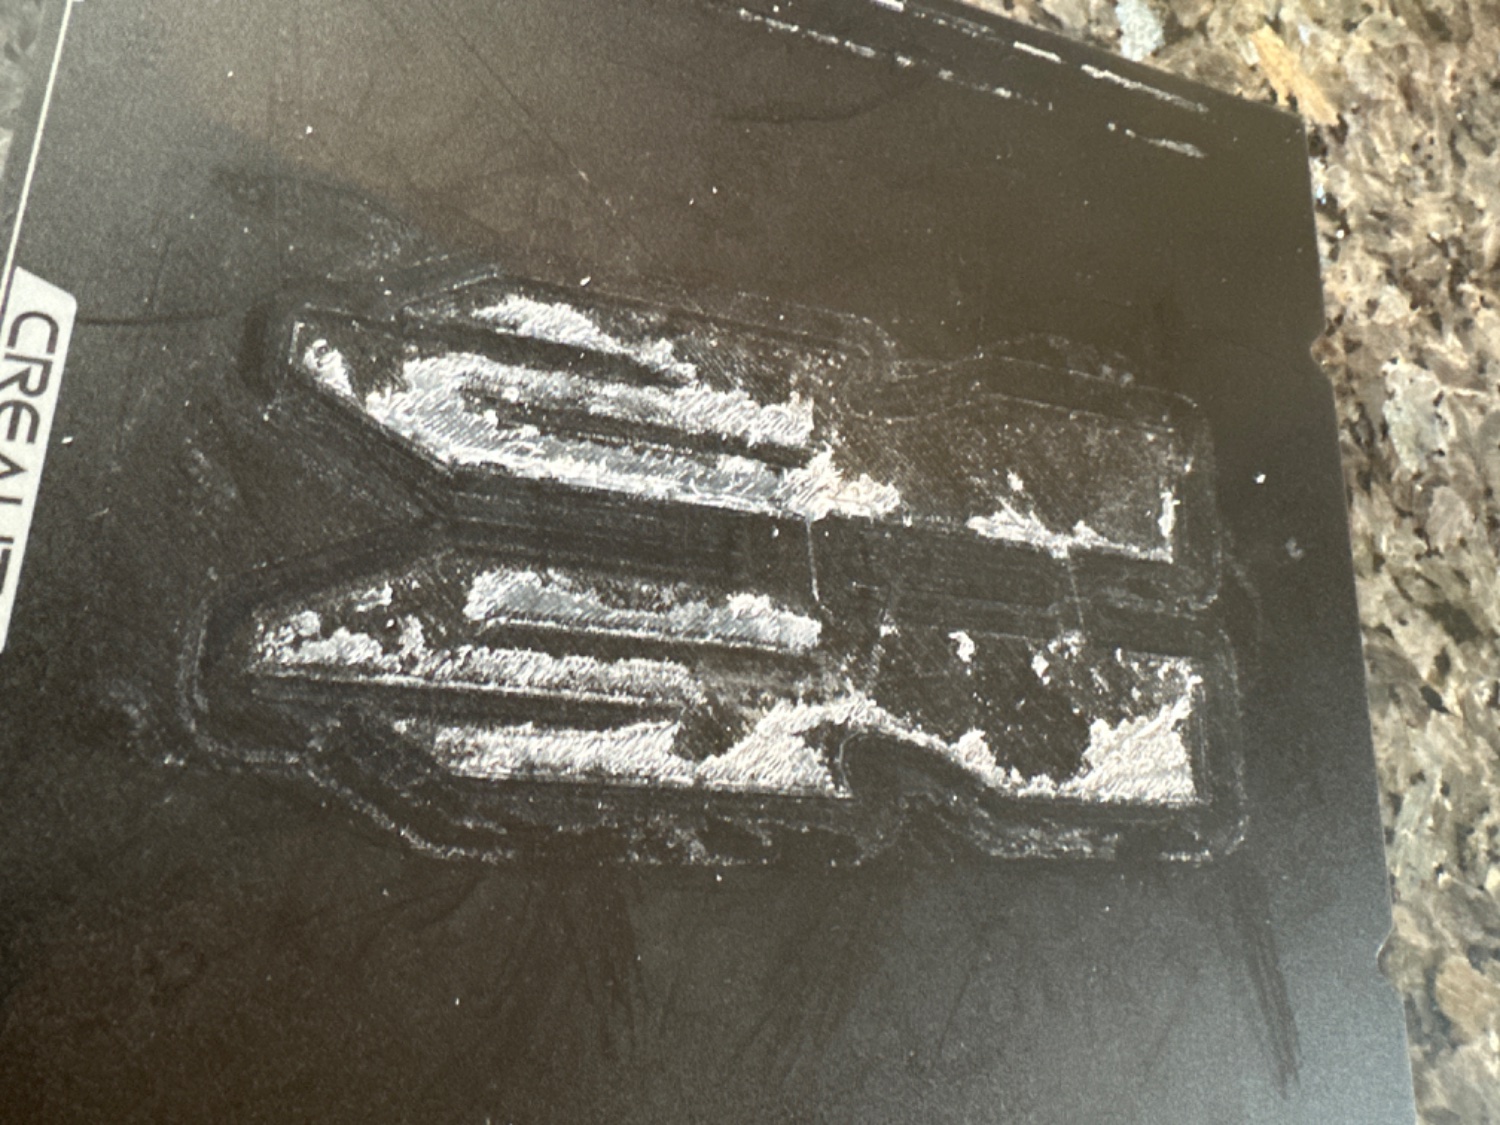
I’m a noob at 3D printing— I got my Ender3 S1 a little under a month ago. I’ve had great success on multiple prints using mostly default settings, up until last week. I had adhesion problems and was told it was likely my nozzle. I tried a spare nozzle and my next two prints were perfect. Since then I’ve had nothing but messy, blobby unsuccessful prints. More concerning, the prints are sticking to the bed so badly that all I can do is brutally scrape the PLA off. I’ve tried using iso alcohol but it doesn’t make much of a difference. I’ve heard acetone can damage the bed, and I don’t want to make it worse if it’s salvageable.
- Is my bed cover completely ruined?
- What should I do to prevent this in the future?
Thanks in advance. This is my first post on Lemmy and it’s exciting to see how quickly this community is growing!
Try printing a 1 layer thick print to work out the Z offset
For example in Cura I’ll import a cube, the scale it to be X: 40mm Y: 40mm Z: .25mm
Set your initial layer flow to something like 105%
Give that a print and see how the gaps line up.
What you’re going for is what can be seen here in the Example section from the great Ellis’s tuning site (I highly recommend checking it out as you get more comfortable since it may be a little too in-depth if you’re just starting)
https://ellis3dp.com/Print-Tuning-Guide/articles/first_layer_squish.html
You want just enough “squish” that the each layer lines are touching to bond but not so much that it has to be pushed up and around the nozzle.
Basically you’ll print that, and the back the nozzle away from the bed until you get the right spot.
Get that right and you’ll find it gets easier to get successful prints
Thank you! This is exactly what I needed. I’ve ordered a replacement surface and I will go through this all on the weekend.
I really appreciate you taking the time to help. Cheers!
It may be scuffed but you can try and clean it up.
Worst case you figure out how to get the nozzle just right on an unaffected piece before you get the new surface.
You’ll have to slightly adjust the offset anyway since the new surface won’t be exactly the same but you can get much closer to it being right.
And, worst case, err on the side of being too far and down dial it in closer
This is what I was thinking too. It is so stuck it will take a couple hours to get it all off, but at least I can test with it.
One thing that worries me is that I had so many successful prints with exactly the same settings and filament I don’t know how it got this bad. I’m hoping I can prevent the same mistakes next time so I don’t ruin another surface.
Wouldn’t hurt to check that the bed springs are not loose, belts have good tension, etc.
But unless it’s really bad I bet your print surface is usable.